The Kendrick Extraction Device
(KED)
What is it?
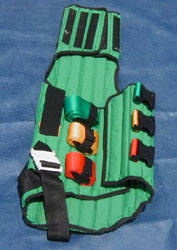
KED Construction
Before application of the KED
Teamwork
The role of the Doctor
Role of the Team Leader
Role of crew member 2
Role of crew members 3 & 4
Role of crew member 5
Application of the KED
1) Slide KED between casualty and seat. This will require easing the casualty forward temporarily whilst maintaining cervical spine control.
2) Check that KED is correctly aligned and that wings are fitting correctly under arm-pits and around torso
3) Ease casualty back in the seat onto the KED.
Only one movement foreword and back must be employed to minimise the risk of damaging an unsupported spin
4) Apply straps in the following order if using the FIA protocol;
1st - Torso middle
2nd - Head (after insertion of head
roll)
3rd - Chin
4th - Torso bottom
5th - Crutch
6th - Torso top
5) Re-check and tighten all torso straps and groin straps.
6) Re-check and adjust head and chin straps if necessary. Secure limbs.
7) Lift casualty clear of wreckage, under the control of the Doctor, and onto a spine board or vac-mat as appropriate.
8) Loosen groin straps and lie the casualty horizontally as soon as possible.
9) Transfer casualty, on the spine board or vac-mat onto the ambulance cot and then into the rescue unit or ambulance.
10) If a long journey is expected, transfer the casualty from the long spine board onto a vac-mat using the bridge manoeuvre.
KED pitfalls
No one talks to the casualty
HANS, Belts and Steering Wheels
Should be removed after you have manually stabilised the C-spine but before you remove the helmet
Insufficient space
Cut seat wings off
Ease casualty down the seat
Bring casualty forward to prevent helmet fouling on head restraints
Cut the roof off
Cervical Collar
Wrong size - Offer Doctor a selection
Insecure - Ensure contact with flesh
Velcro sticks to seat or won’t fasten
Casualty Movement
All movements must be in line with no twisting before the KED is secure
Move the casualty down the seat to provide space for helmet removal
Tilt the casualty forward to allow the KED to be inserted
Don’t move the casualty again until they are secure in the KED
KED Alignment
The casualty and the KED must be vertical, not leaning at an angle
The KED must be tight up under the casualty’s armpits
The Lifting Handles are there to assist in this process
KED Fastening Strips
Attach to seat material
Head Roll
The Roll is intended to fill the gap between the casualty’s head and the KED
Just because it can be trebled in thickness using the Velcro securing strap DOESN’T MEAN YOU HAVE TO DO IT!
Smaller pillows can be used and may be better
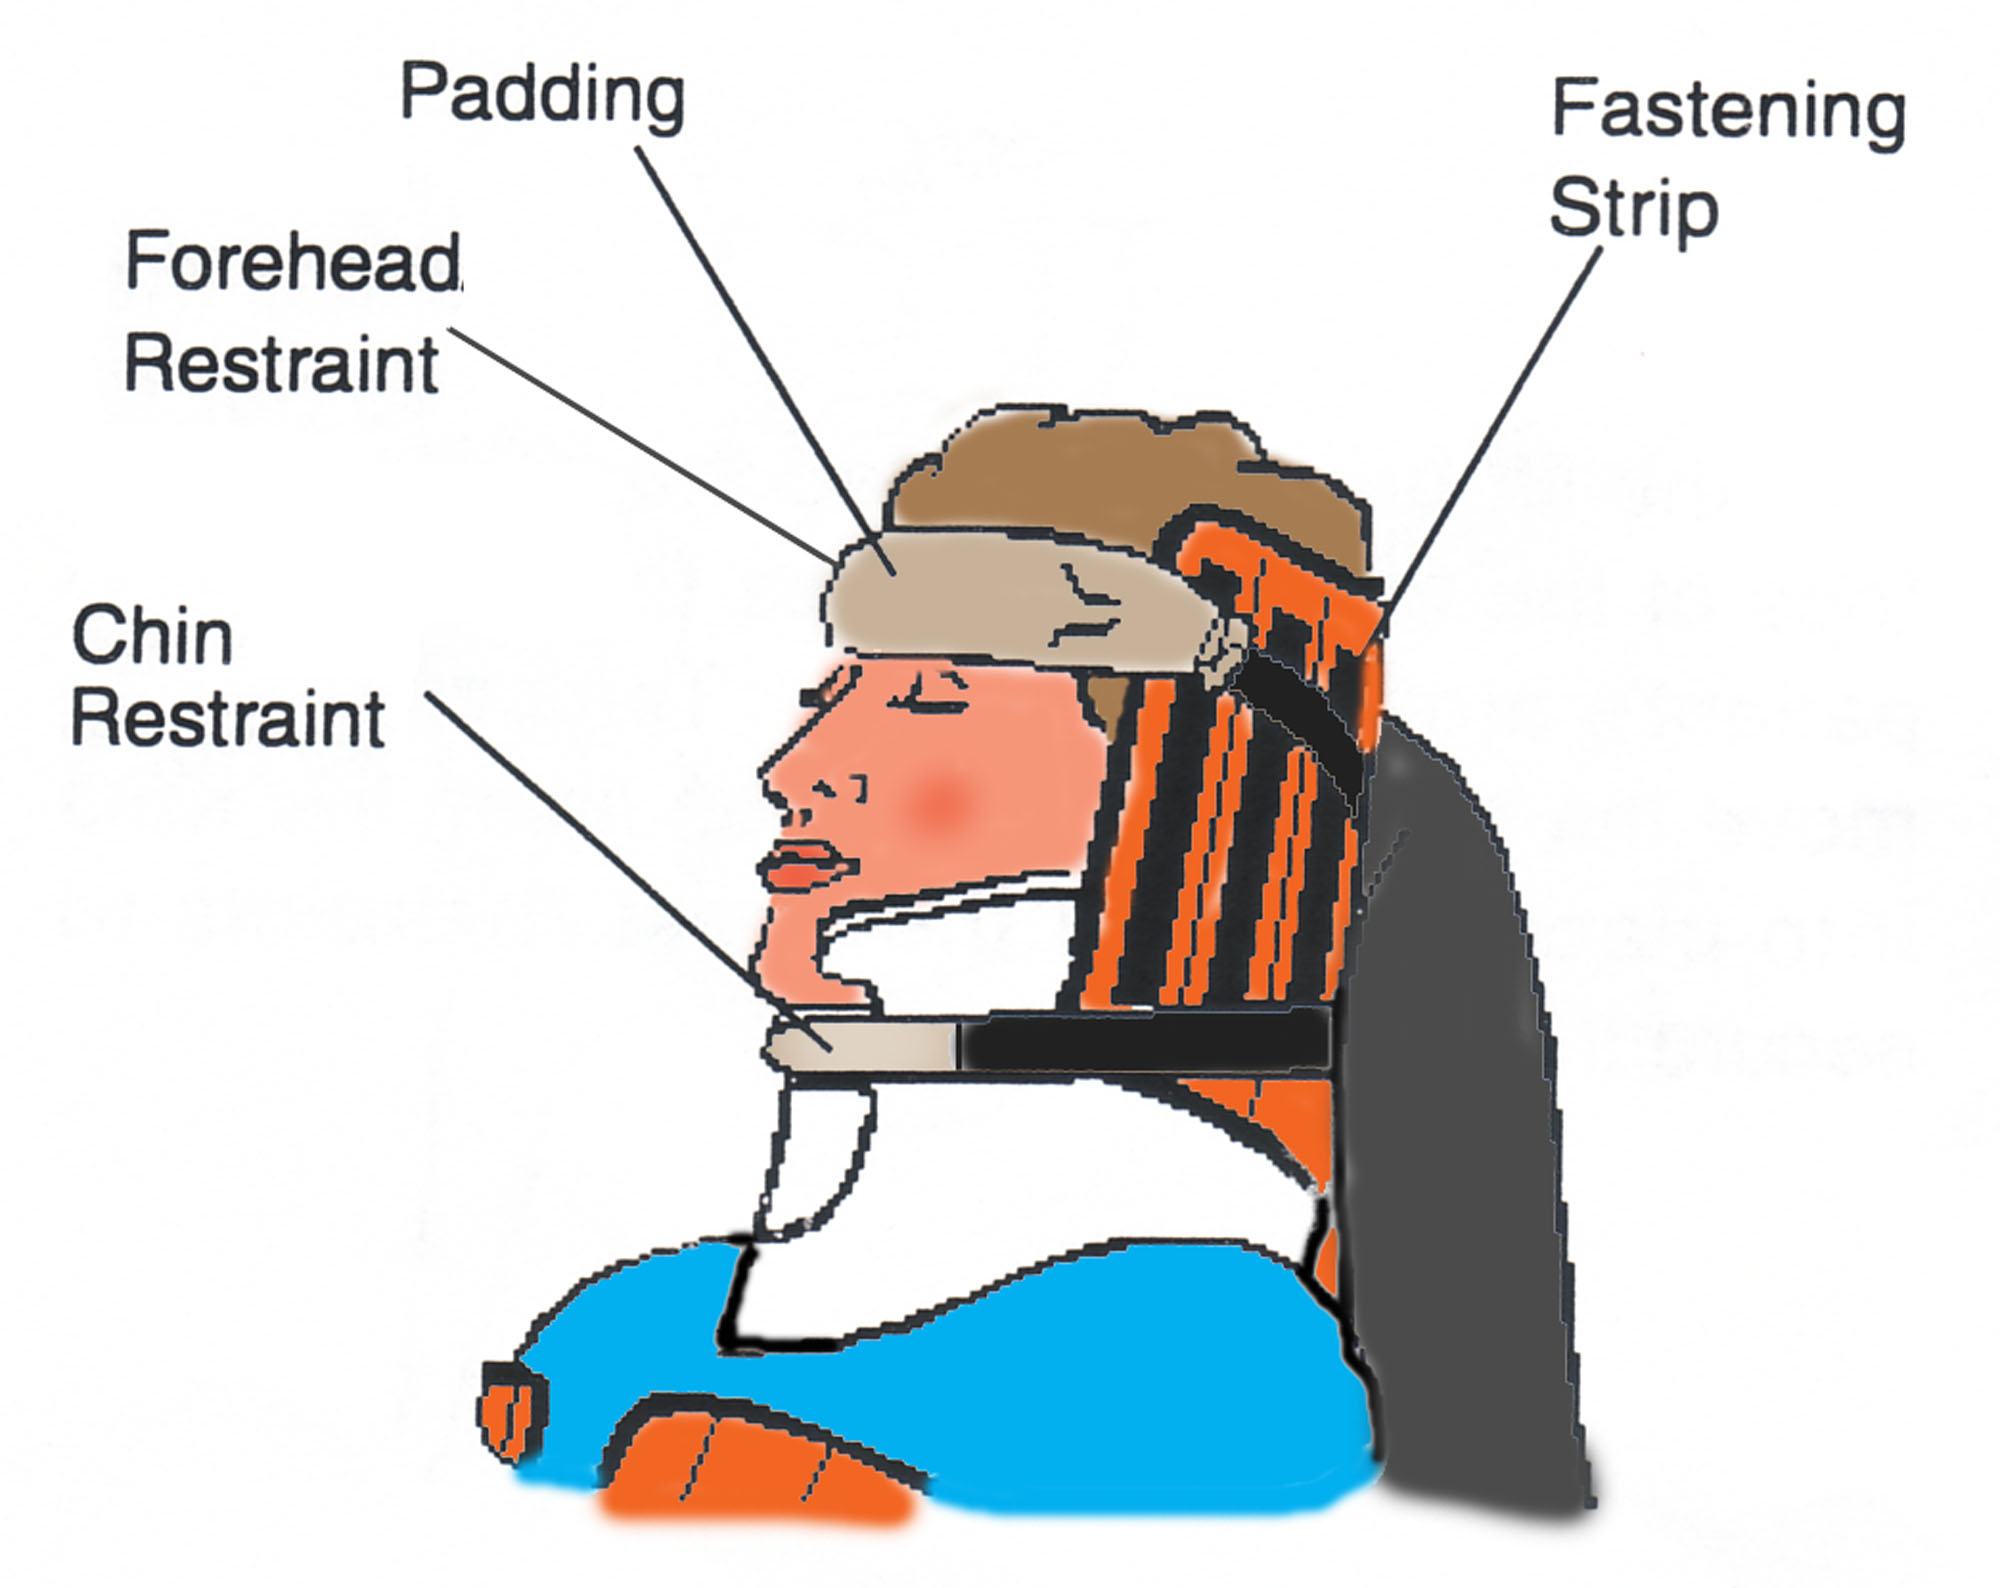
Forehead and Chinstraps
Get lost and Velcro gets worn - Always carry spares
Must be applied on either side simultaneously - forehead strap first.
Crutch Straps
Buckles flip up or are difficult to locate - Tape or sew to KED
Difficult to tighten sufficiently - "Saw" under buttocks to get in correct position.
Long Board
Requires extra muscle and takes up extra space. Often more of a hassle than being useful
Must be secure and flat from side to side even if it is raked top to bottom.
Must be removed (from the foot end) using the Bridge Manoeuvre when placing the casualty on a Vac Mat
If not used ensure the casualty is supported flat as soon as possible by lifting their buttocks
index Back to home page